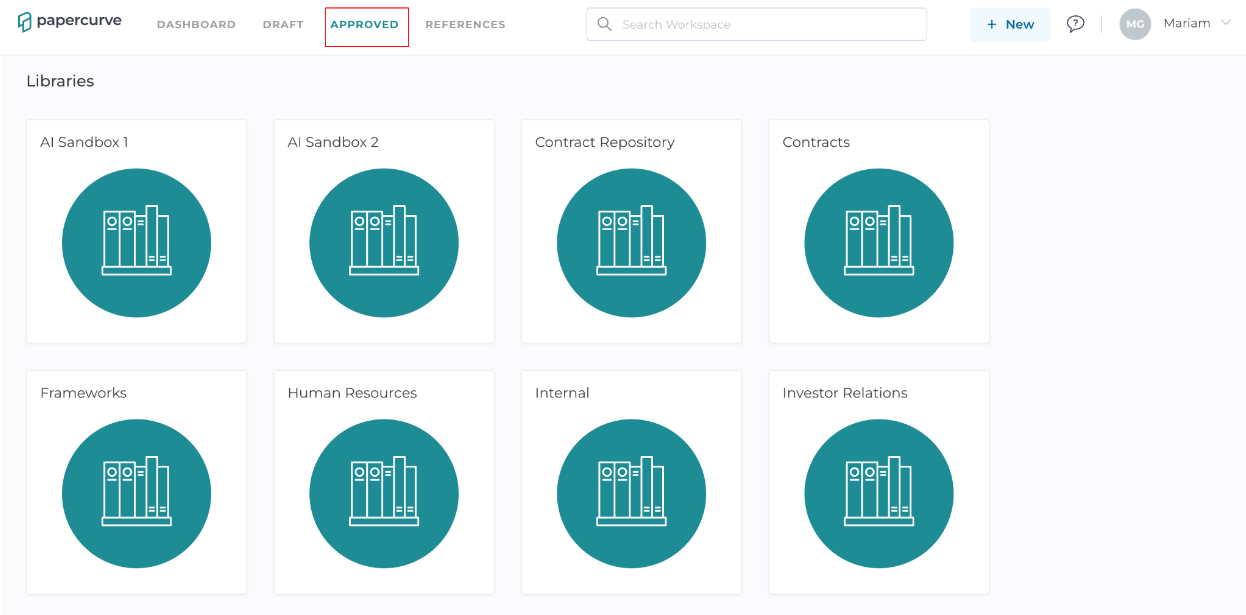
Creating a document library in Papercurve allows you to securely store review content and documents where you and your review team can find them easily, work on them together, and access them at any time. You can use a document library to store all files related to a specific project or a specific team. Papercurve includes a document library by default, however, you can add additional libraries to your instance as needed.
Creating a Library
1. To create a library, navigate to your name on the top right hand corner.

2. Click on "Workspace" from the drop down menu that will appear.

3. Next, navigate to "Libraries" on the left side panel.

4. Then, click on "Create Library" to create a new library.

5. Enter a name for your library.
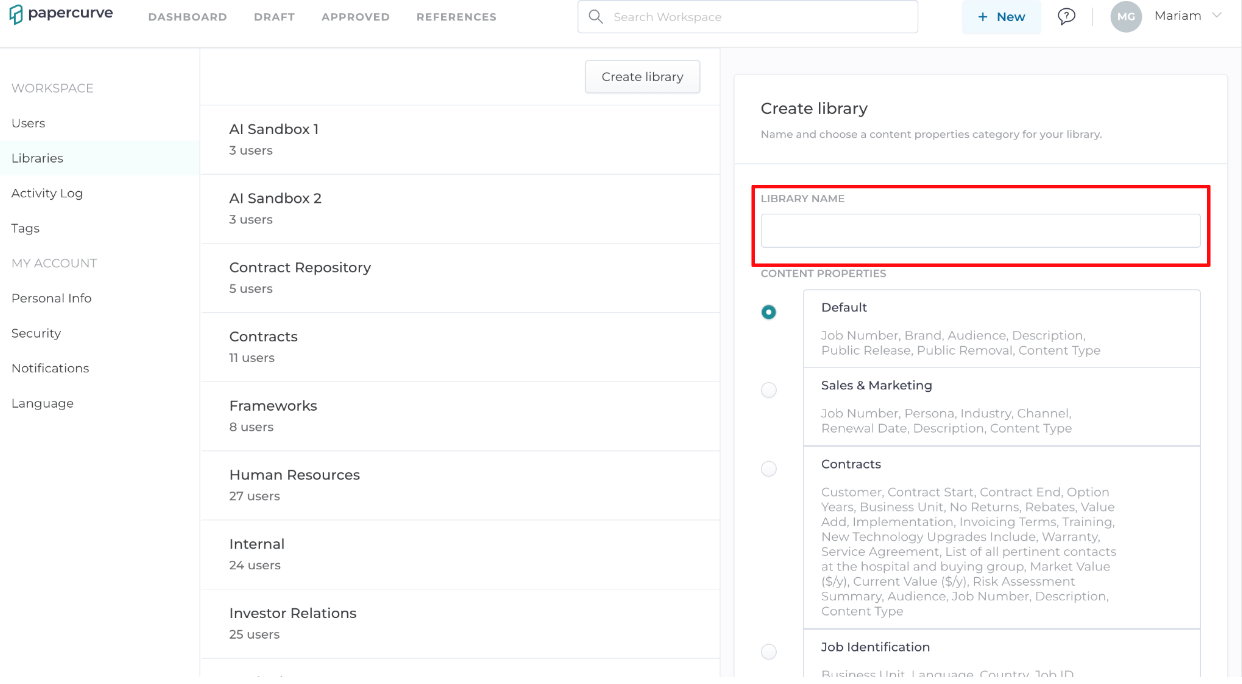
6. Then you must choose which Content Properties will be available for the library based on it's objective. When finished, click Save.
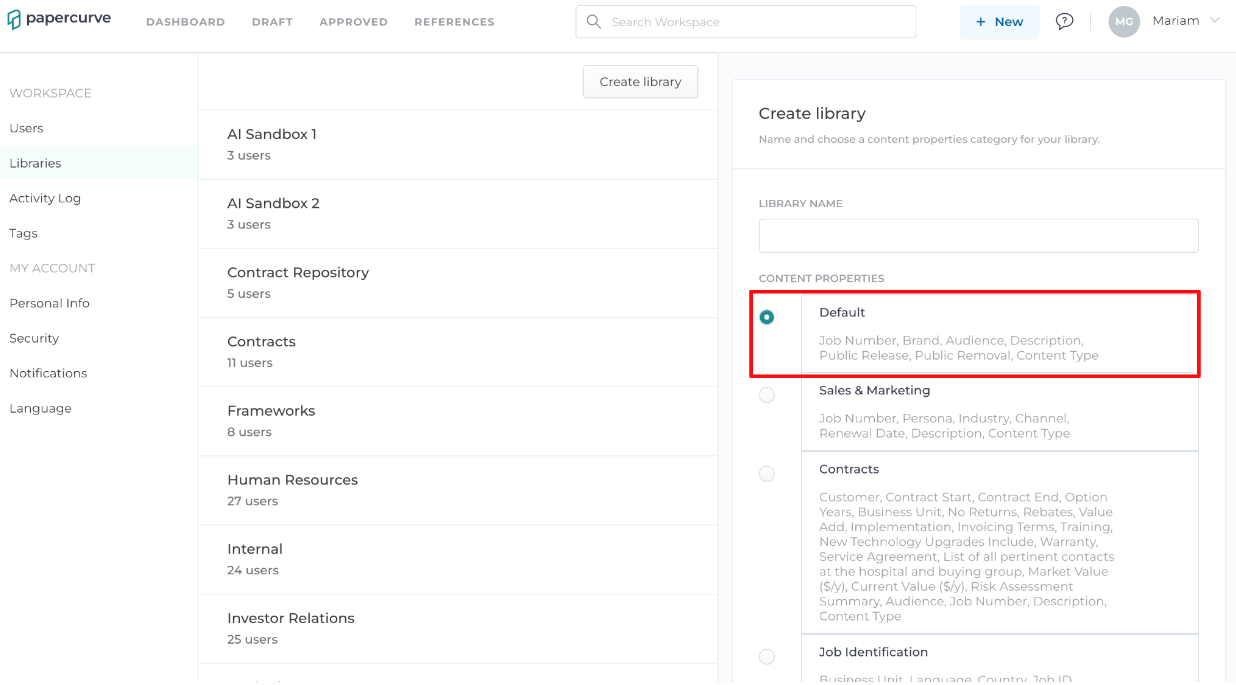
7. Congratulations your library has been created!
Accessing a Library
1. Once your library has been created, in order for members of your team to access it, you will need to grant them permission to it. You can do this by navigating to your Workspace > Users.

2. Select the User you wish to grant permissions to and the User Profile should appear.
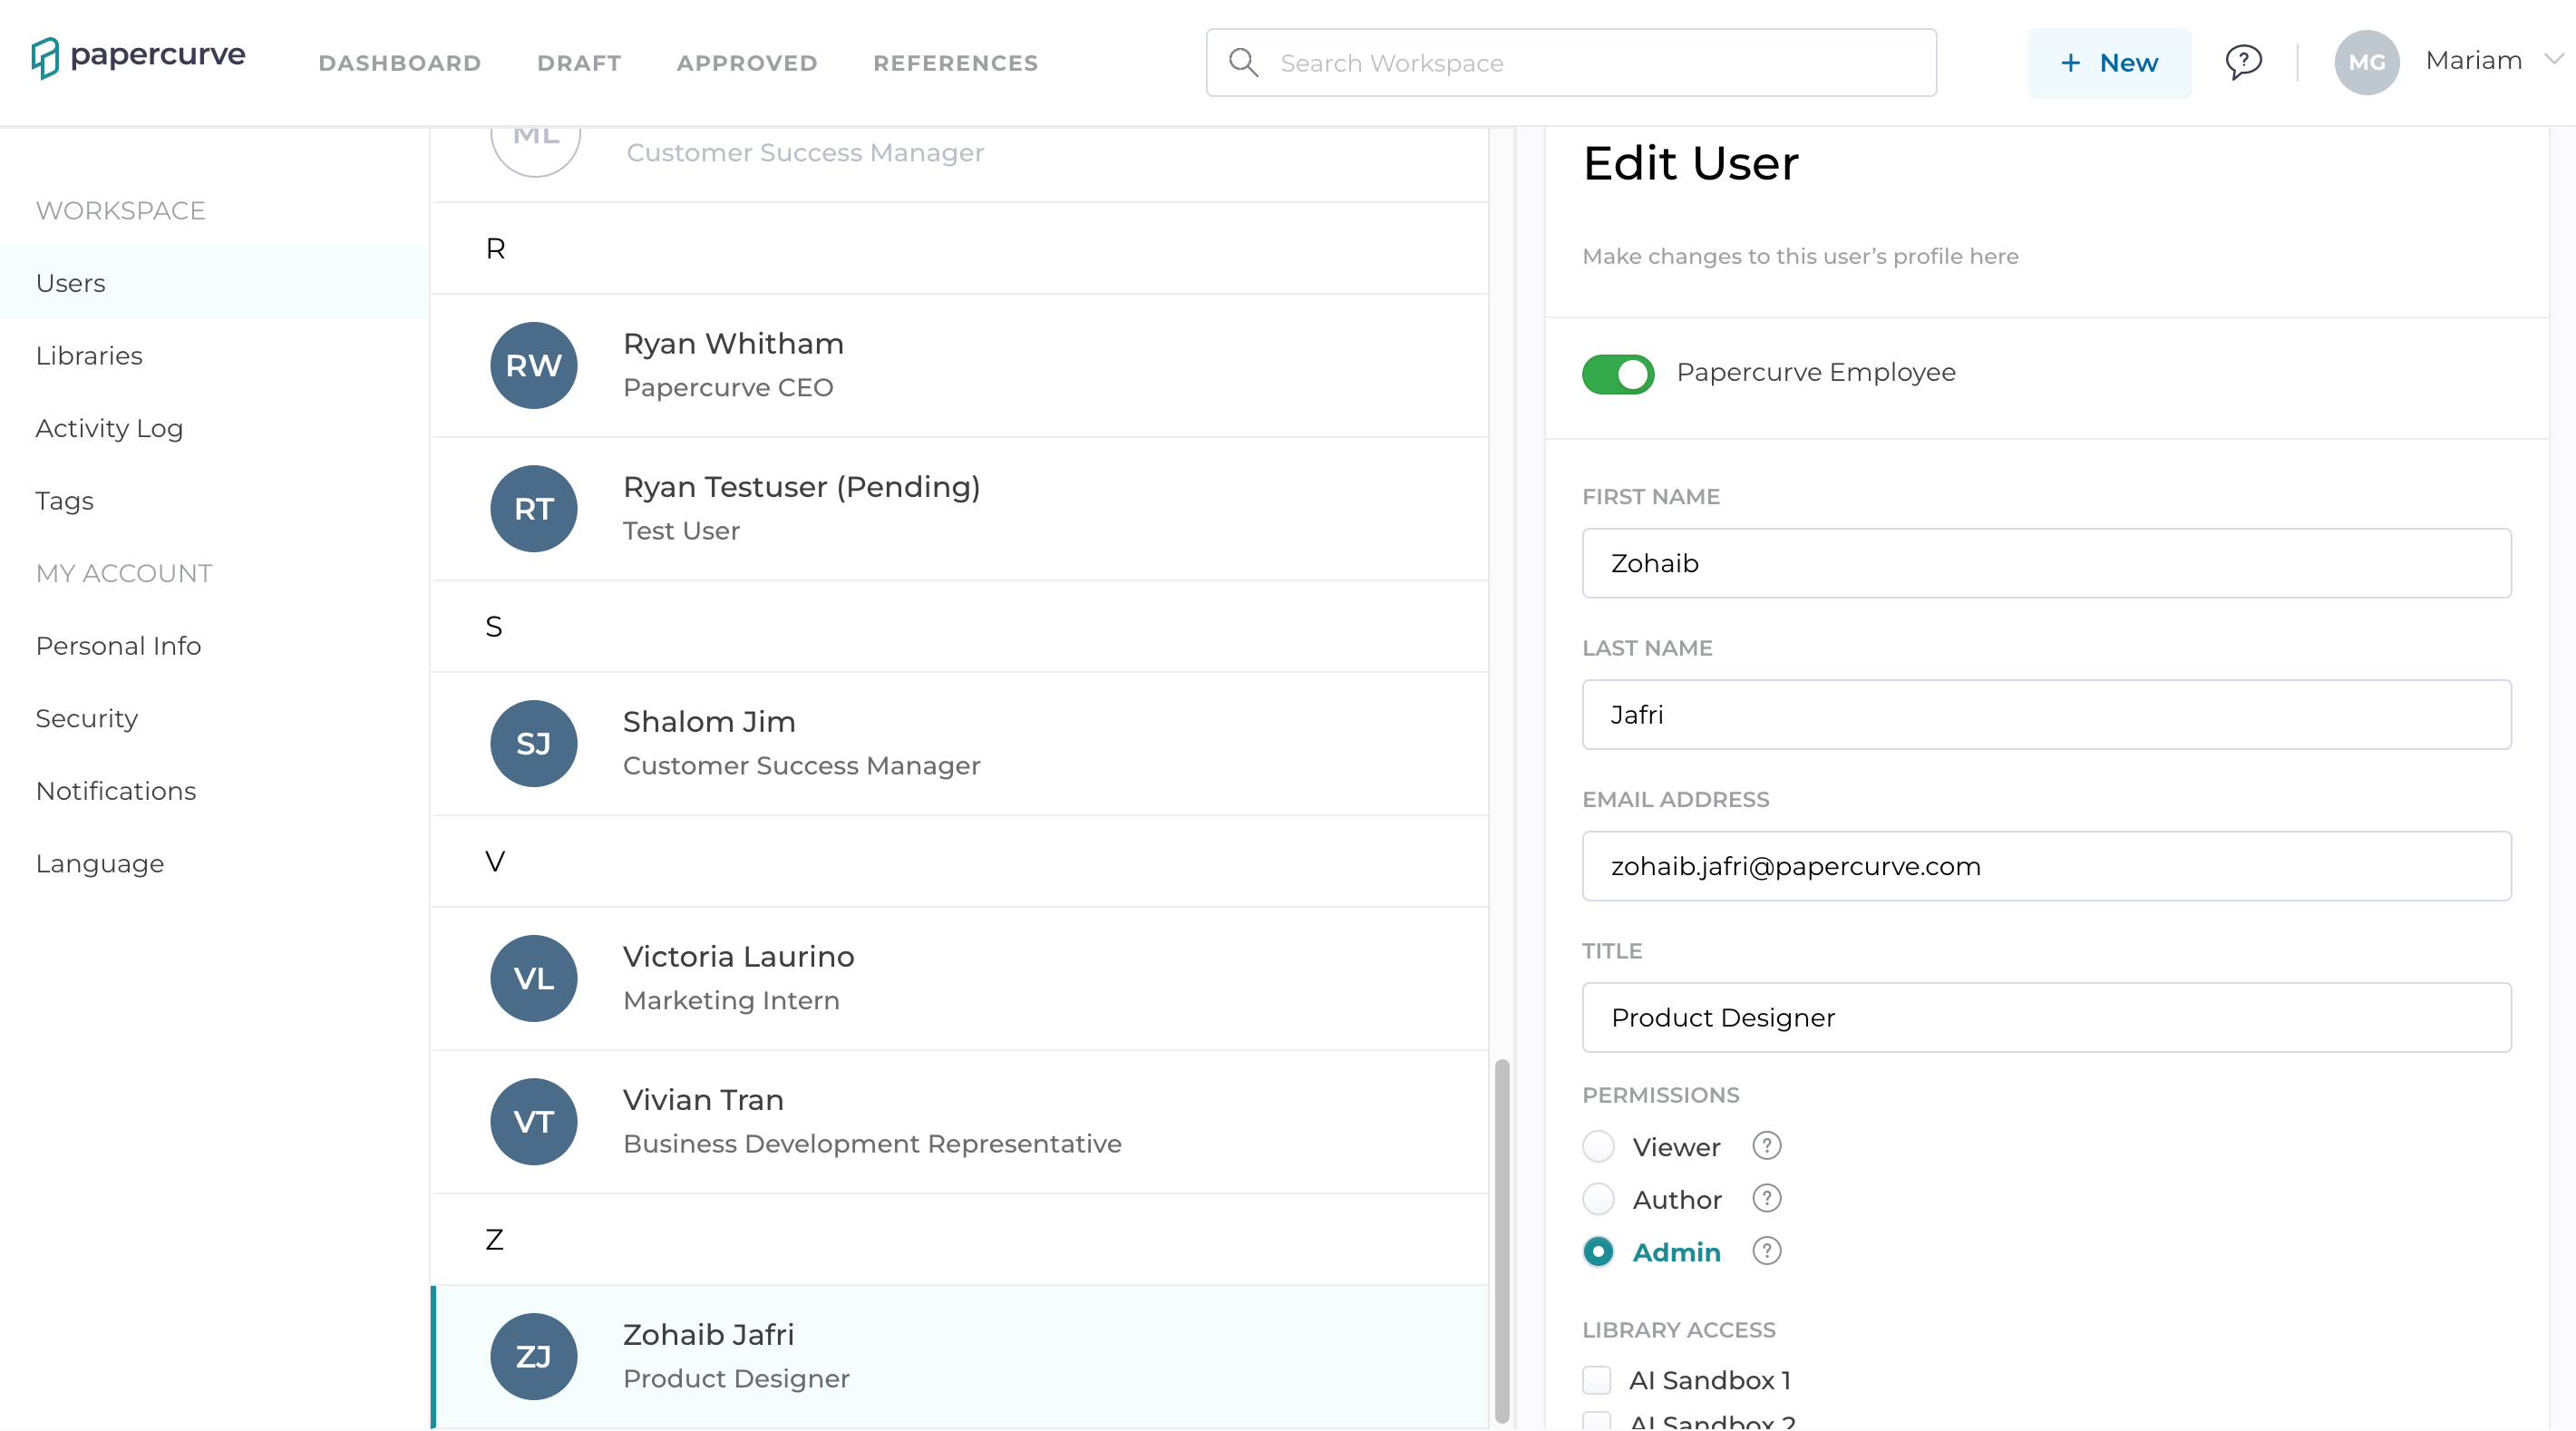
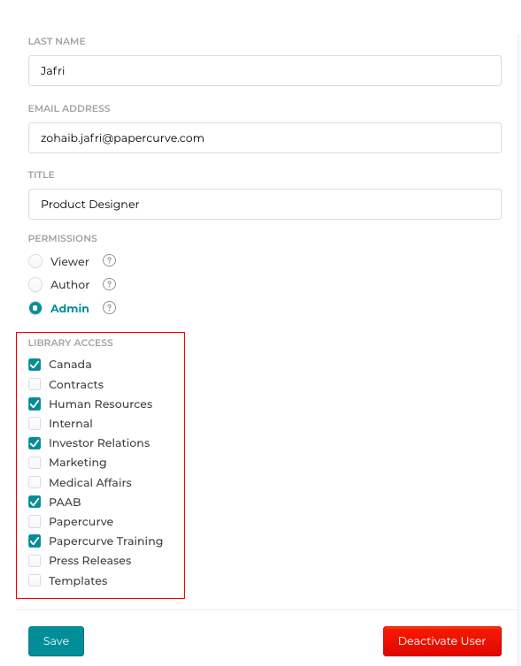
3. Next navigate to the Library Access section on the User Profile and select the Library that you want the user to be able to access by checking the corresponding boxes.
More About Libraries
Libraries will be accessible from the Approved tab along the top bar. Here you will see all Libraries that you have been granted permissions to. If you are unable to view a particular Library, please contact your Papercurve admin to ensure that you have been granted proper access.
Additionally, only users with the Admin permissions will be able to create, delete or edit Libraries. They will also be able to grant and remove user access to all libraries as well.
