Content Authoring allows users to edit documents on the platform using fillable fields.
When you have frequently used documents that require only minor changes between each use, Content Authoring can store them as customizable documents with fillable fields, reducing the time it takes to create a new variation when needed.
To learn how to customize your word documents to be compatible with the Content Authoring feature, please see our guide: Content Authoring File Prep
Uploading a Template
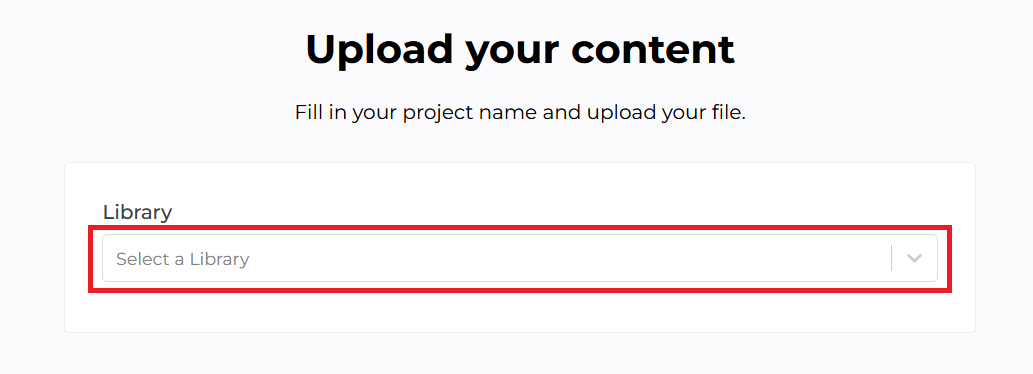
1. Select the New button to navigate to the upload screen.

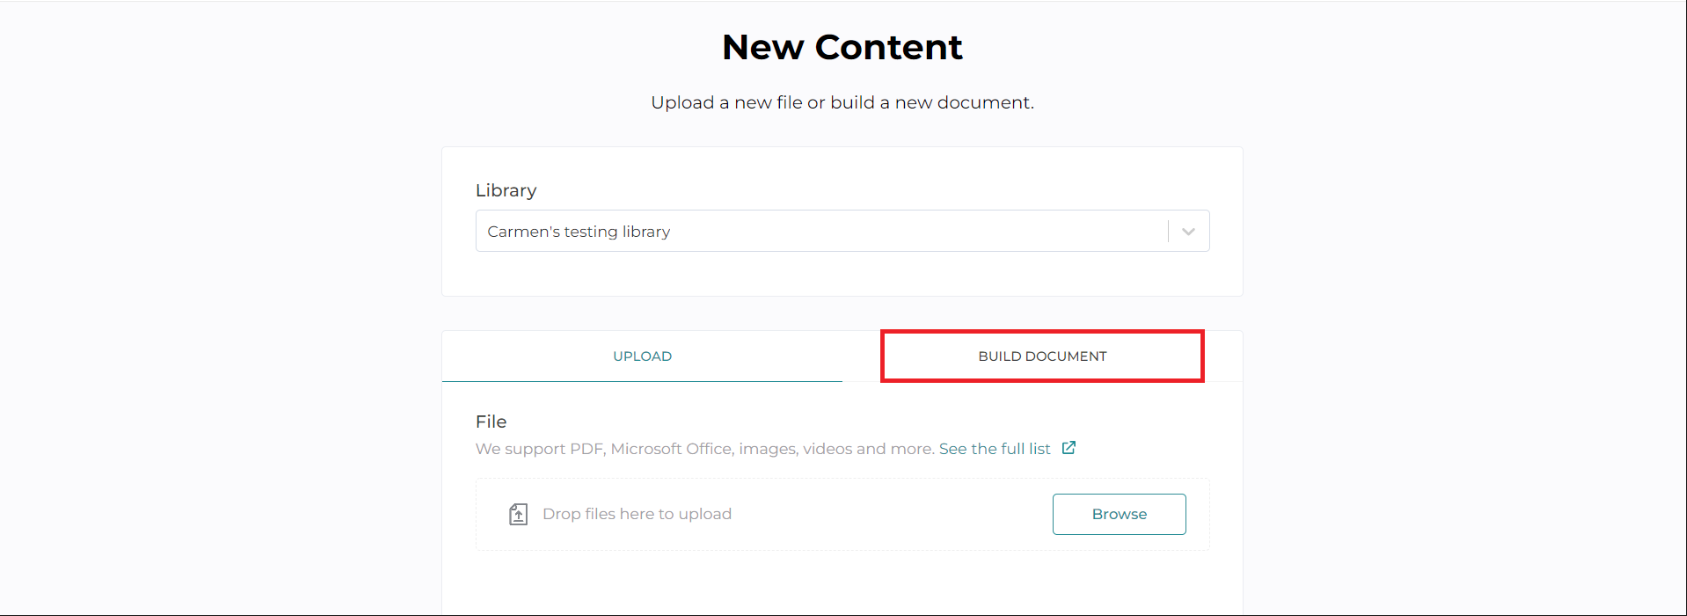
2. After selecting the Library, switch from upload to template by clicking Build Document.
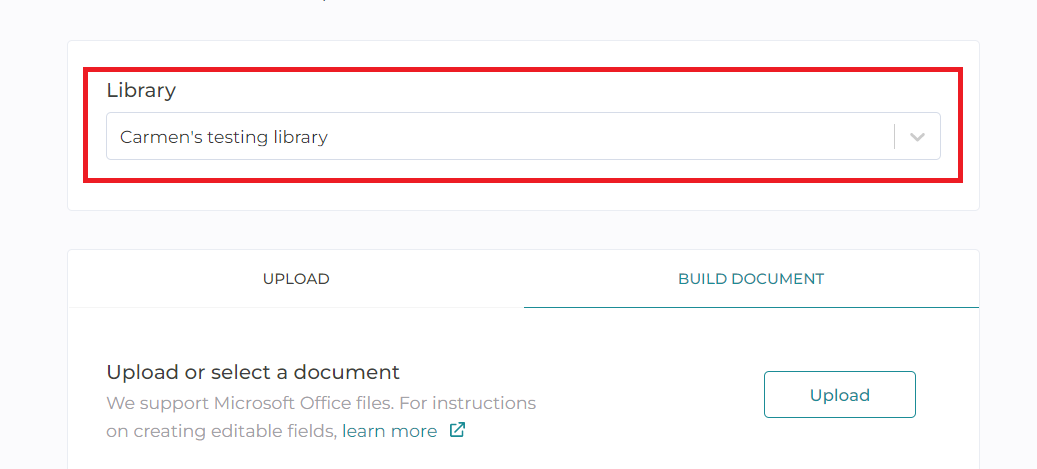
3. Select the upload icon and choose a word document to be uploaded.

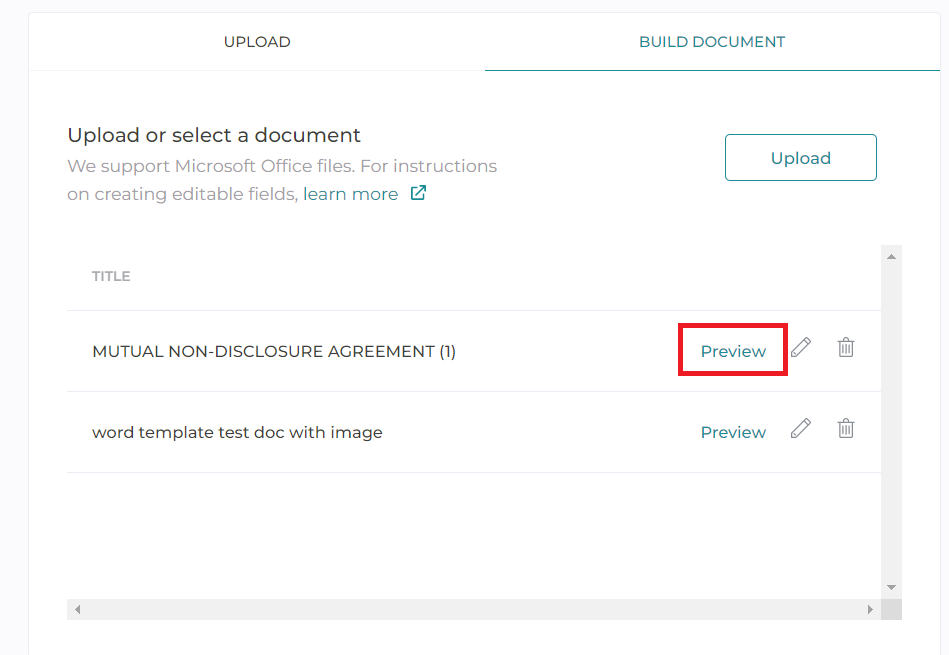
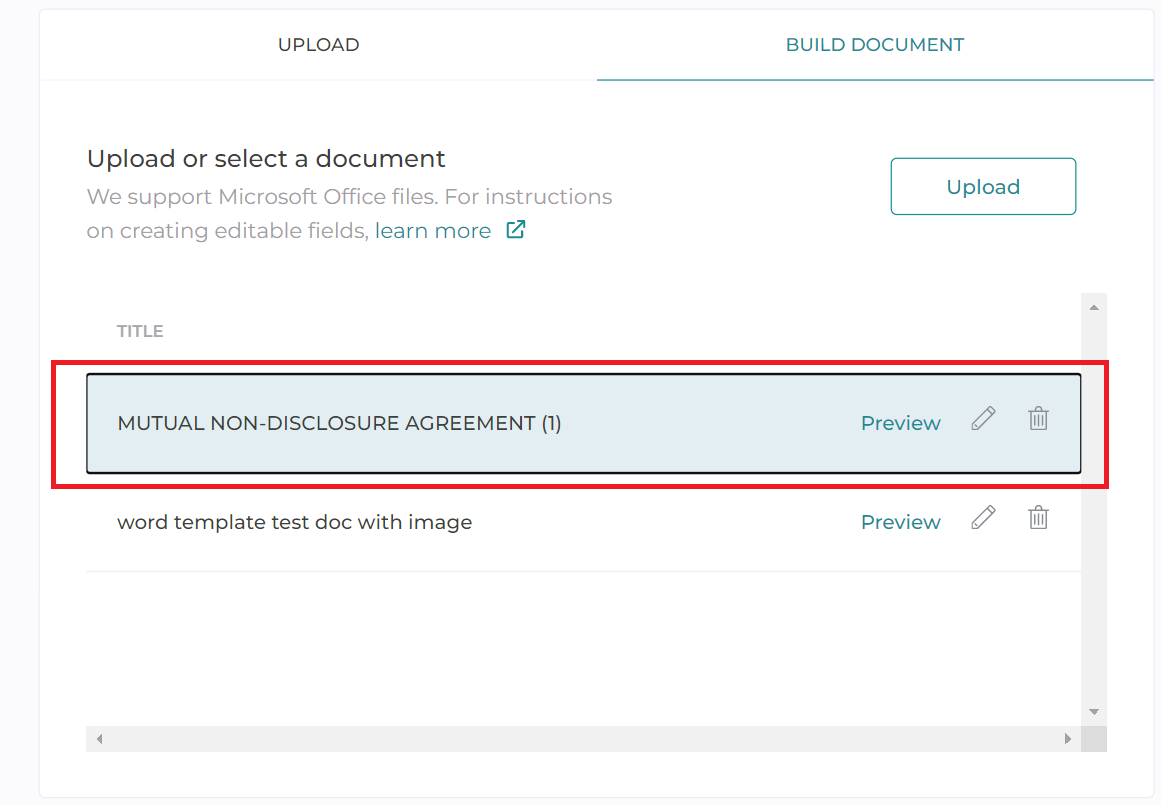
4. Once a document is uploaded, it will appear on the available template list. Each template's availability is restricted to each library.
5. You can preview, rename, or delete an uploaded template.
Using a Template
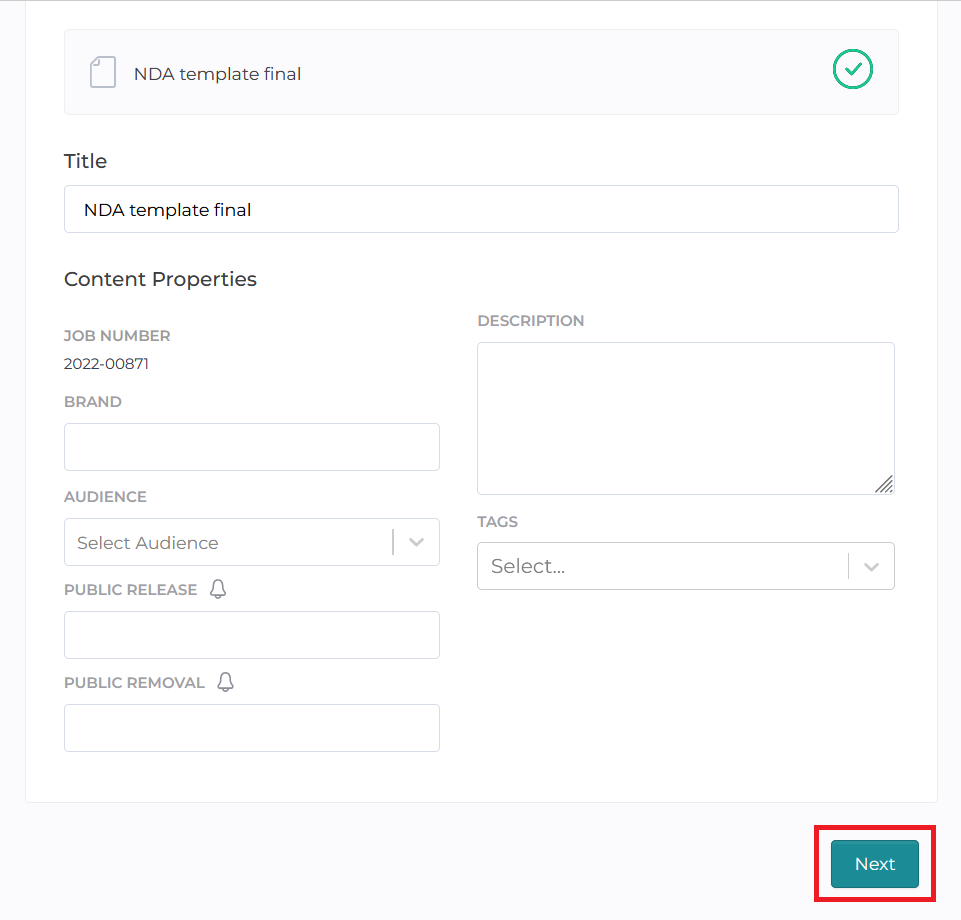
1. To create content using a document format, navigate to the list and then select the desired document and click Next.
2. Once a document is selected, you can fill in the content properties for the created document for better sorting. When completed, click the Next icon to proceed.
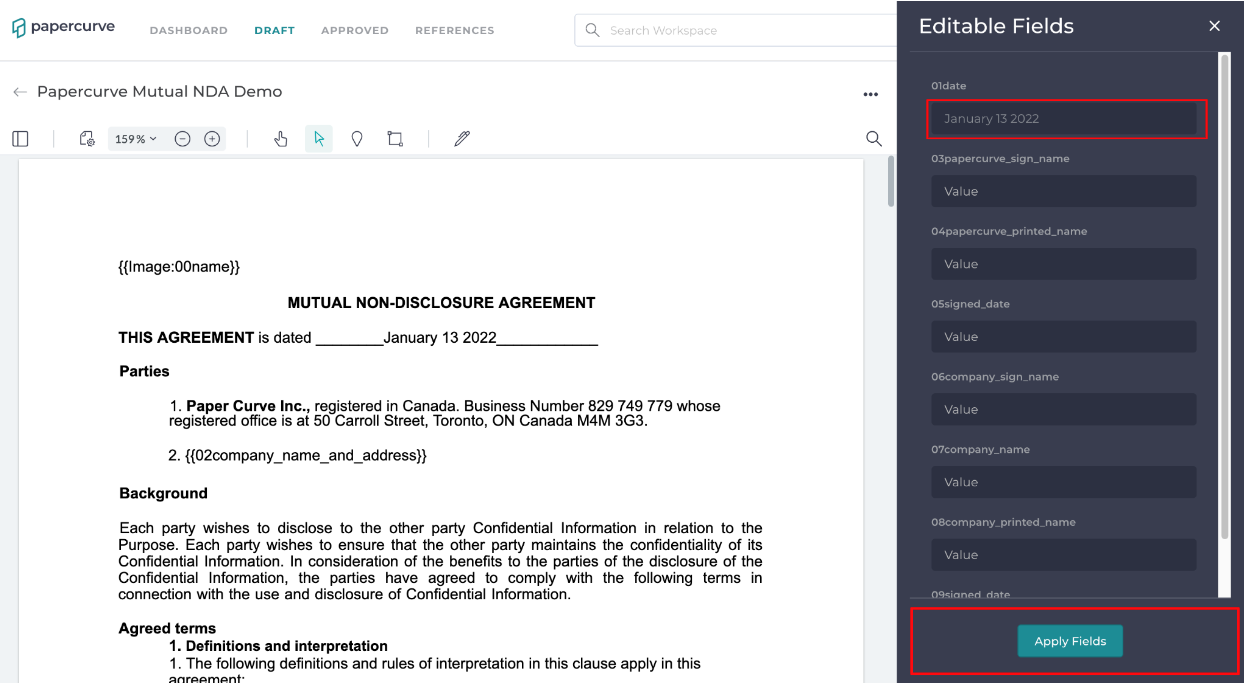
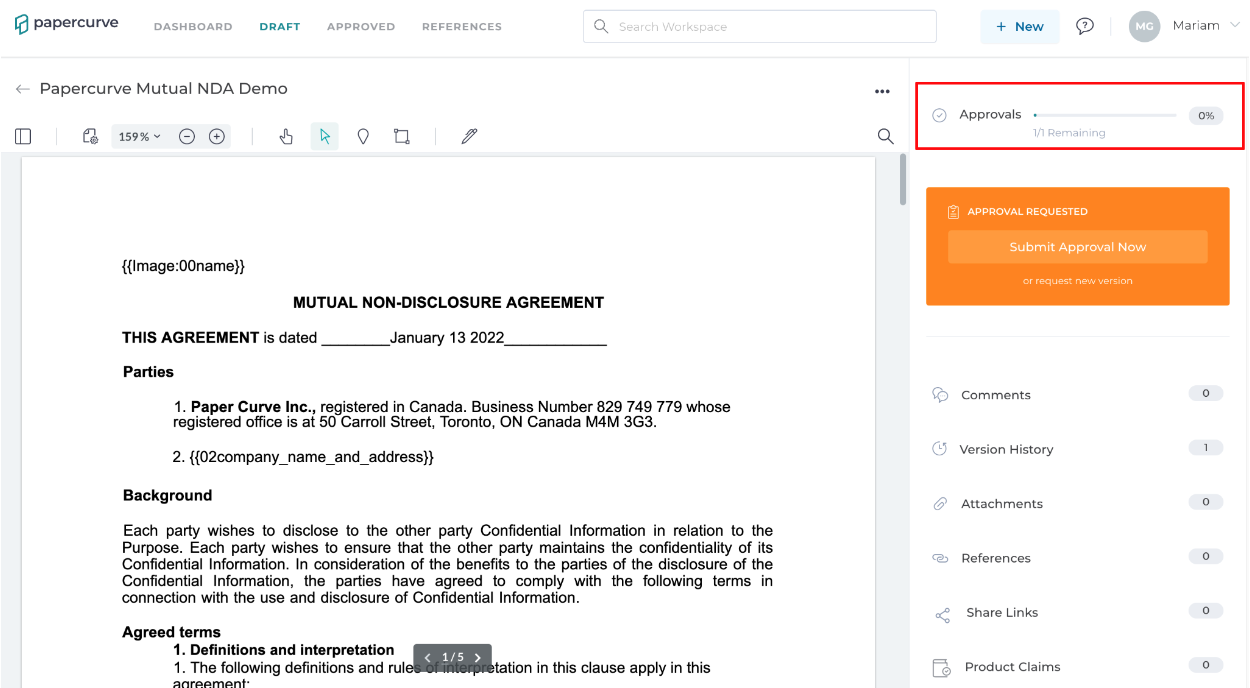
3. The document will now load with a editable fields sidebar that allows for variable inputs into the editable fields. With this, you can customize the designated content inside the document.
4. When all the fields are completed, click the Apply Fields icon and Papercurve will populate the variables into the document.
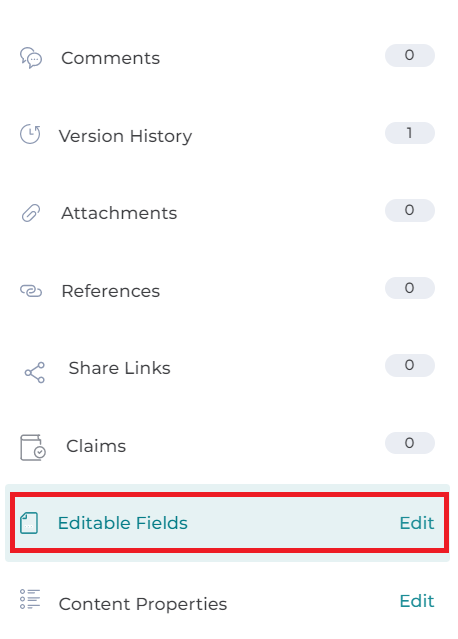
5. If any changes are required, click on the Editable Fields section on the side panel to edit the fields.
6. Once the document is ready for review, use the side panel to add reviewers and start the approval process.
Uploading Images on to Templates
1. When you have {{image.imagename}} in your document (must be all lowercase and no special characters), it enables the capability of the user to upload images instead.
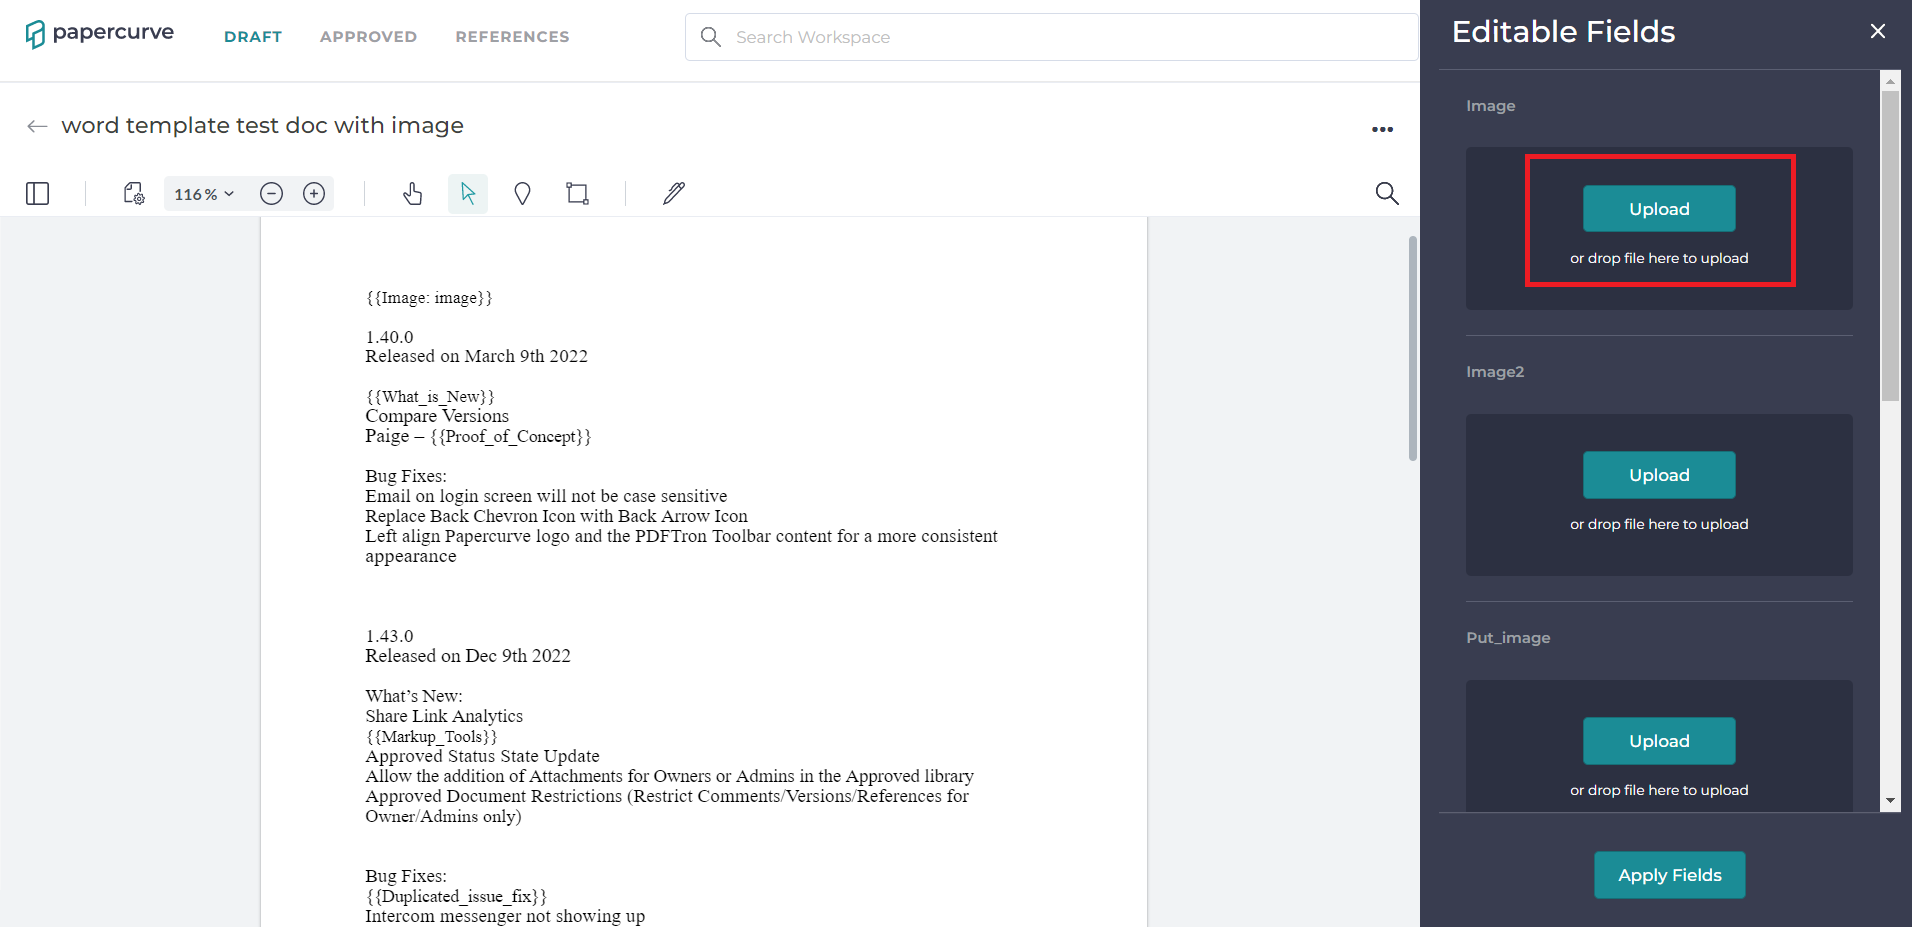
2. An image can be uploaded by choosing a desired image file and then inputting the height and width of the image as it should appear on the document.

3. Once the image width and height is decided, simply click the Apply Fields icon and the document should update with the new image.
